
CONTACT US
Get in touch with any questions or comments and we'll be happy to help.
CONTACT US
Get in touch with any questions or comments and we'll be happy to help.

CONTACT US FOR A FREE QUOTE
Contact us by filling in the form or by using any of the methods below and we'll get back to you within 24 hours
GET A FREE QUOTE
DISCOVER WHAT OUR CUSTOMERS HAVE TO SAY ABOUT US
rEVIEWS
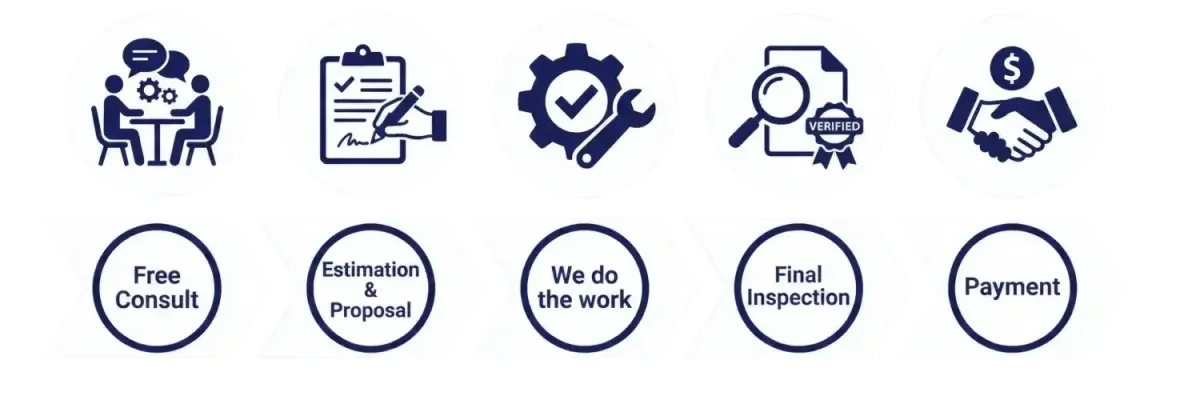
OUR PROCESS
Our process is simple and only contains a few simple steps
Our process
Our process is simple and only contains a few simple steps
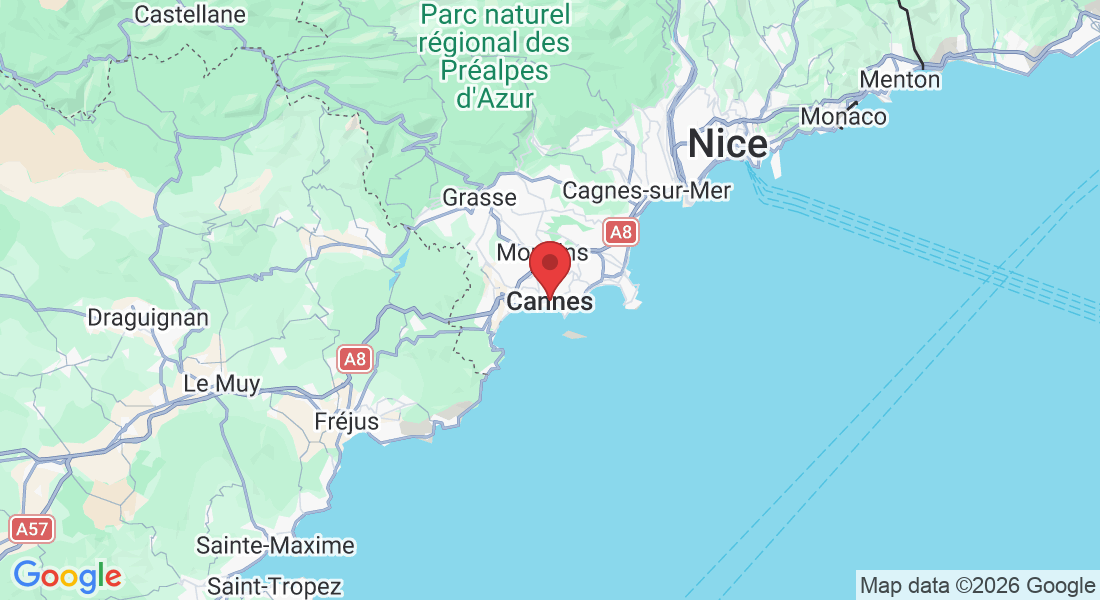
pROUDLY sERVING tHESE aREAS
nICE
CANNES
ANTIBES
MENTON
READY TO TAKE THE NEXT STEP?
GET A FREE QUOTE TODAY!
oPERATING HOURS
Mon: 24 Hours
Tue: 24 Hours
Wed: 24 Hours
Thu: 24 Hours
Fri: 24 Hours
Sat: 24 Hours
Sun: closed
Copyright 2026. AMG Bâtiment. All rights reserved.